Appearing in "Should Old Acquaintance Be Forgot"
Captain America #253
Featured Characters:
- Captain America (Steve Rogers) (Main story and flashback)
Supporting Characters:
- Bernie Rosenthal
- New Scotland Yard
- Inspector Sweeney (First appearance)
- Reg (First appearance)
Antagonists:
- Baron Blood (John Falsworth) (Disguised)
Other Characters:
- Edwin Jarvis
- Jacqueline Falsworth (Main story and flashback)
- Jenny Wilson (First appearance)
- Montgomery Falsworth (Main story and flashback)
- Kenneth Crichton (First appearance)
- Joey Chapman (First appearance)
- Hotchkins (First appearance)
- Bucky (James Buchanan Barnes) (Only in flashback)
- Toro (Thomas Raymond) (Only in flashback)
- Human Torch (Jim Hammond) (Only in flashback)
- Sub-Mariner (Namor) (Only in flashback)
- Master Man (Wilhelm Lohmer) (Only in flashback)
- The Face (Werner Eisen) (Only in flashback)
- Warrior Woman (Julia Koenig) (Only in flashback)
- Agent Axis (Only in flashback)
- Asbestos Lady (Victoria Murdock) (Only in flashback)
- The Scarlet Scarab (Abdul Faoul) (Only in flashback)
- Blue Bullet (Johann Goldstein) (Only in flashback)
- Adolf Hitler (Only in flashback)
Races and Species:
- Humans (Main story and flashback)
- Vampires
- Mutants (Main story and flashback)
- Human-Inhuman Hybrids (Only in flashback)
- Synthezoids (Only in flashback)
- Atlantean-Human Hybrids (Only in flashback)
Locations:
Items:
- Captain America's Shield (Main story and flashback)
Vehicles:
- Concorde
Synopsis for "Should Old Acquaintance Be Forgot"
Captain America #253
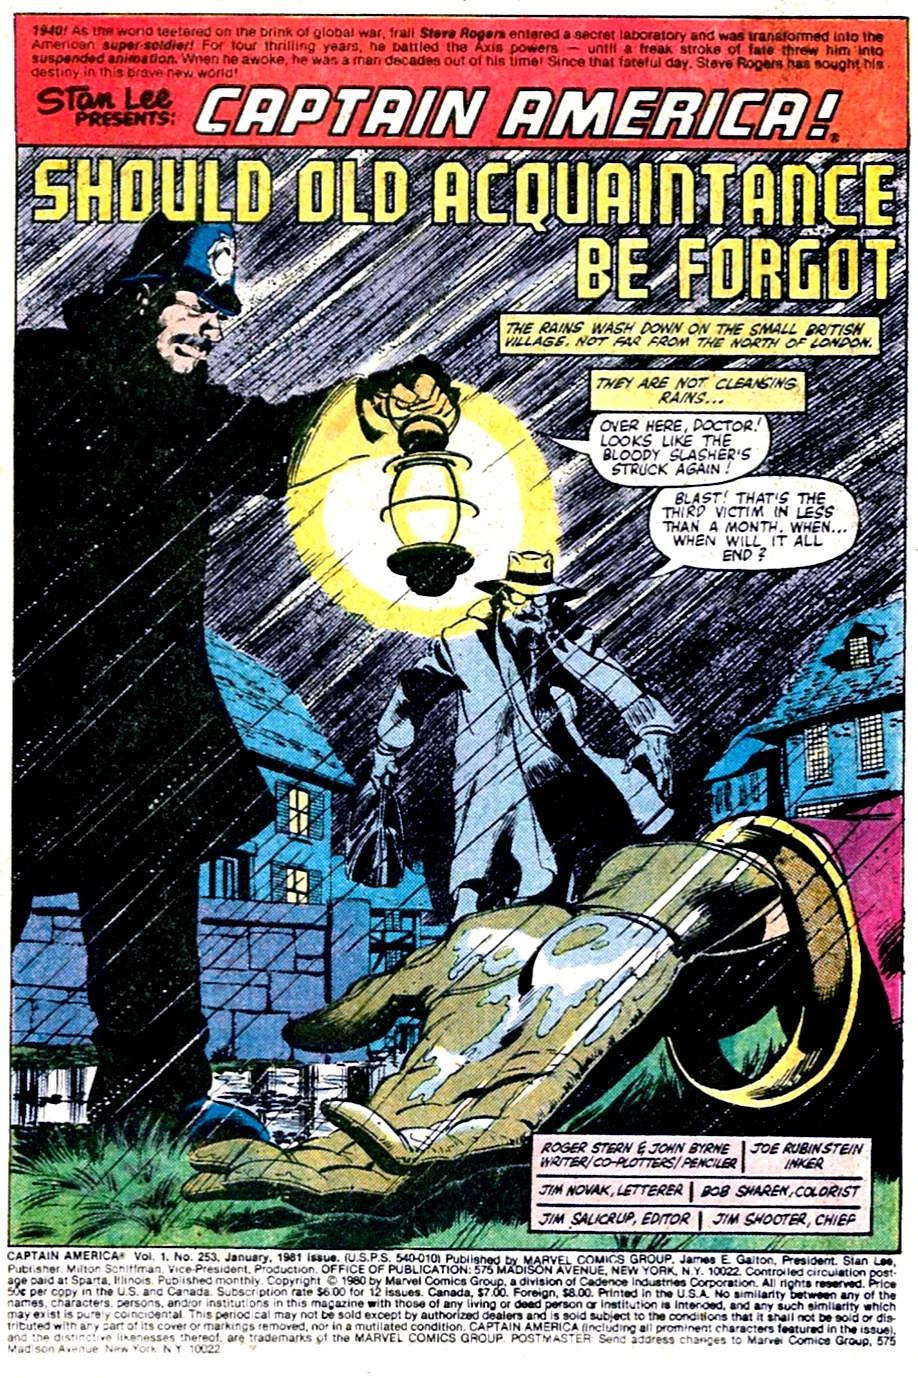
After finding a third slasher victim, an English village constable and Dr. Cromwell inform Lady Crichton, who promises to use her influence to get Scotland Yard involved; however, doubting they can handle the situation, her elderly father prepares to contact someone who can. In Manhattan, after attending a musical together, Steve Rogers and Bernie Rosenthal return to Steve's apartment, but their liaison is interrupted by a phone call from Jarvis, who reads Steve a coded telegram, prompting him to cut the date short, to Bernie's dismay. Travelling to England, Steve reunites with Lady Crichton, formerly his Invaders' teammate Spitfire, and learns it was her father, Lord Falsworth, aka WWI's Union Jack, who sent for him, convinced the slasher is their old foe Baron Blood, despite his remains being long interred in the Tower of London. Investigating, Captain America discovers a woman's skeleton has been swapped for Blood's; he returns to the Manor to inform Falsworth of this, and meets Jackie's son Ken and his friend Joey. That night, Baron Blood attacks Captain America.
Appearing in "Dread Night of the Dreadnought!"
Iron Man #129
Featured Characters:
Supporting Characters:
Antagonists:
Other Characters:
Locations:
- United States of America
- New York City
- Long Island
- Manhattan
- Guido's Bar and Grill
- Western USA
- New York City
Items:
Vehicles:
Synopsis for "Dread Night of the Dreadnought!"
Iron Man #129
Fury attempts to use SHIELD's controlling stock in Stark International to force them into manufacturing weapons again but Stark threatens to retaliate by bringing his patents to the open market. They finally settle the affair by returning the stock SHIELD bought from Jarvis to him returning the company to Stark's control. As Tony and Nick try to reconcile over the conflict, Fury is summoned away to product 13 for a SHIELD emergency. Tony follows as Iron Man and a Dreadnought attacks Fury at Project 13. Iron Man's intervention saves Fury's life.
Appearing in ""Up from the Sky!""
Defenders #72
Featured Characters:
Supporting Characters:
Antagonists:
Other Characters:
- Ixhoohxi
- Aragorn
- Department of Justice
- Ron Rice
- Hal
Locations:
Synopsis for ""Up from the Sky!""
Defenders #72
Chasing after Harrison Tyrk and the Lunatiks, the Defenders manage to catch and stop them from taking Hellcat to the Unnamable and turn her into its pawn. Mystically preventing them from saying their masters name, Dr. Strange rounds up all the fragments of Tyrk and leads the Defenders through Tunnel World to find someone who can help them reunify Tyrk. Along the way they have to fight through storms and giant monsters set upon them by the Unnamable, using their wits as Dr. Strange is unable to use the full fury of his powers less he brings the attention of the Unnamable itself upon them.
Appearing in ""Here Nightmares Abide!""
Dazzler #4
Featured Characters:
Supporting Characters:
Antagonists:
- Doctor Doom (Victor Von Doom)
- Nightmare
- Robotron (First appearance)
- Dreamstalker
- Arturo Frazen
Other Characters:
- Lelola O'Mally
- Fantastic Four
- X-Men (Referenced)
Locations:
Races and Species:
Items:
- Doctor Doom's Armor
- Stones of Merlin
- An obsolete electro-magnetic transfusion modulator
- Multi-Dimensional Transference Center
- Fantastic Four Uniforms
- Tentacles of Tomarrey (Mentioned)
Vehicles:
Synopsis for ""Here Nightmares Abide!""
Dazzler #4
Doctor Doom has kidnapped Dazzler to one of his secret hideaways. Once she has regained consciousness, he tells her he needs her to go to another dimension and get the second Merlin stone he has discovered. Meanwhile, Dazzler is in the parallel dimension fighting for her very life. Alison utilizes her radio which picks up nothing but static. However, she can still convert even this sound to light energy. Dazzler is confronted by the ruler of this dimension who calls himself Nightmare. He refuses to hand over the Merlin stone and Dazzler is once again pressed into action. After she turns on her dazzling array of power, Nightmare suddenly decides that the Merlin stone is a gaudy bauble and not worth all this effort to keep in his possession. He gives the jewel to Dazzler. Dazzler returns to Doom’s hideaway with the stone. Doom thanks her by allowing her to live to serve him further. Mistakenly, he turns his back to her. She realizes her radio is playing music now and musters up enough energy to create a laser. The laser ricochets around the room damaging equipment and robotrons alike. Doom finally wins by knocking her unconscious by partially collapsing the ceiling. Meanwhile, at the United Nations building, Mr. Osgood is looking for Dazzler with no results. Johnny Storm shows up to help the police look for the missing Dazzler. Chief O’Malley tells him that only one jewel is missing and it’s not exceptionally valuable. Dr. Arturo Frazen is also located by the police, but the Chief orders him returned to his own embassy. Johnny Storm figures out she may have been taken by Dr. Doom and he returns to the Baxter Building to alert the rest of the Fantastic Four. However, Doom notices the arrival of Johnny Storm. Since he has no wish to fight any member of the Fantastic Four at this time Doom flees his hideaway and leaves Dazzler lying on the floor. Johnny rushes to Dazzler's side, picks her up off the floor, and cries over her unconscious form. Alison’s family learns of her disappearance. Her Grandmother is upset, and her father locks himself away in his study and is shocked at his inability to cry for his lost daughter.